Setting up a new Windows 11 laptop usually means you’re forced to sign in with a Microsoft account. But what if you want to use a local account instead without connecting to Wi-Fi or creating an online profile?
In this guide, we’ll walk you through a simple trick that lets you bypass the Microsoft account requirement during setup. With just one command, you can unlock the hidden option to create a local account even on the latest version of Windows 11.
Whether you’re a privacy-conscious user, setting up a device for offline use, or just prefer local accounts, this step-by-step tutorial is for you.
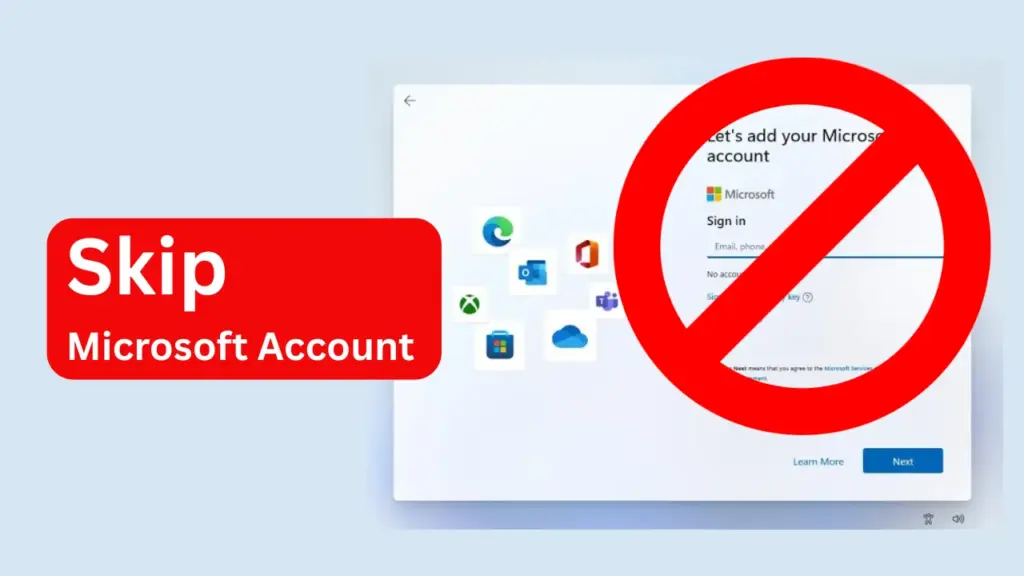
Table of Contents
Step-by-Step Guide: Create a Local Account Without Signing In
1. Start Windows 11 Setup
- Turn on your new laptop or PC.
- Begin the Windows 11 setup process.
- Choose your region and keyboard layout as usual.
2. Skip Wi-Fi Connection
- When prompted to connect to a network, do not connect.
- Look for the option to skip or choose “I don’t have internet”.
- This will allow you to continue setup offline.
3. Open Command Prompt
- When you reach the screen that asks you to sign in with a Microsoft account, press:
Shift + F10On some laptops, you may need to press
Fn + Shift + F10instead.
- This opens an Administrator Command Prompt window.
4. Run the Magic Command
- In the Command Prompt, type the following command and press Enter:
start ms-cxh:localonly- This command triggers a hidden flow in Windows setup that allows you to create a local account.
5. Create Your Local Account
- You’ll now see the option to set up a local user account.
- Enter your desired username and password.
- Continue with the setup.
6. Decline Optional Settings
- When prompted, you can choose to decline telemetry, ads, and personalized experiences.
- This helps keep your setup clean and private.
7. Confirm Local Administrator Access
- Once setup is complete, log in to your new account.
- Open Settings > Accounts > Your Info to confirm that your account is listed as Administrator and Local Account.
Final Thoughts
And that’s it! You’ve successfully set up Windows 11 with a local account no Microsoft sign-in, no internet required. This method is quick, clean, and perfect for users who want more control over their system.
Note: This method was tested in September . Microsoft may change or remove this feature in future updates, so it’s always good to check if it still works on newer builds.
Did this trick work for you? Leave a comment below and let us know your experience. If you ran into any issues or found another workaround, share it with the community!